Unreal Engine SDK
Integrating Unreal with Starwatch is a two-part process. First, your Starwatch Instance needs to be created within the StarWatch Manager. Then the StarWatch SDK needs to be installed and integrated into your project.
Collect credentials
- Go to the manager site.
- Select your team.
- Select Manage on the instance.
- Click to copy your app key and API URL.
Have these items ready to use for the installation process.
Install
- Download the SDK ZIP package from here.
- Unzip the content.
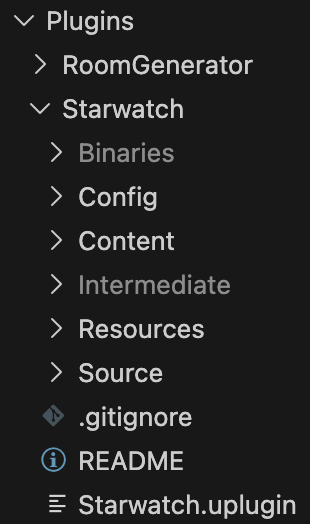
- Copy the content to the Plugins folder.
- Go to Edit > Project Settings, then search for StarWatch.
- Add in the StarWatch URL and API keys pulled from the above steps.
- Restart your editor.
Set up actors
Actor initialization
To begin sending events to StarWatch, you first need to initialize a player.
- In the player’s actor blueprint, search for StarWatch Publisher Subsystem. This creates a reference to the publishing stack.
- Drag and drop from the StarWatch Publisher Subsystem output, and search for and select Initialize Player from the popup prompt. This configures the actor to send user data to StarWatch.
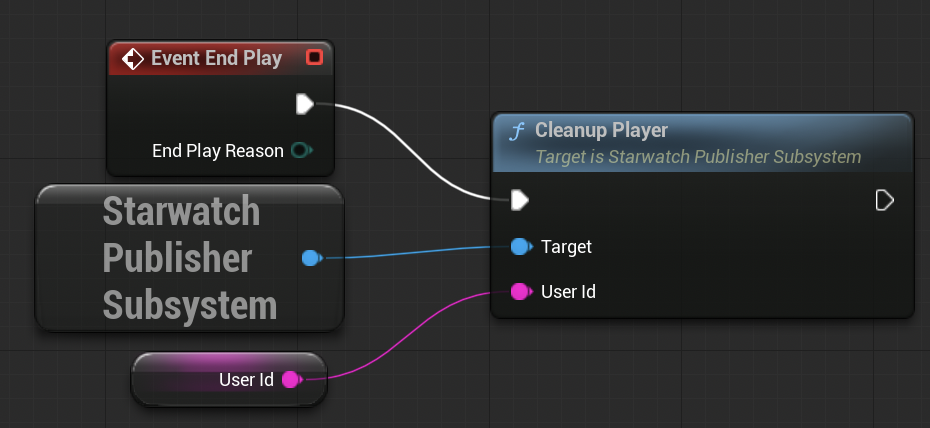
Actor cleanup
To indicate to StarWatch that a player’s session has ended, run the Cleanup Player function. Without this, the game will continue to send empty events to StarWatch.
Set up a Cleanup Player node in an identical way. Drag another node from the existing StarWatch Publisher Subsystem, or create a copy (which will reference the same subsystem–no need to worry about creating multiple subsystems) and attach User ID to it.
Submit a game state
This content is optional for seeing users move around the map, but required for event based features.
Submit events
- Create a StarWatch Publisher Subsystem node.
- From the StarWatch Publisher Subsystem, create a Submit General Event node.
- Connect an exec pin from your trigger to the Submit General Event node.
- Set the event name.
- Give the player a distinct ID.
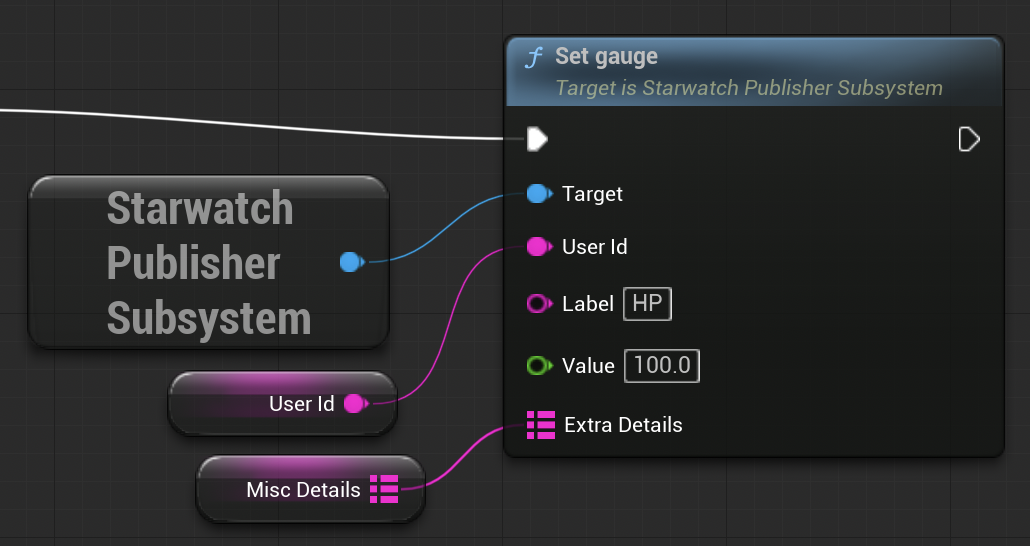
Set gauges
Setting gauges is very similar to setting events.
- Create a StarWatch Publisher Subsystem node.
- From the StarWatch Publisher Subsystem, create a Set Gauge node.
- Connect an exec pin from your trigger to the Submit General Event node.
- Set the gauge name.
- Give the player a distinct ID.
Integrate 3D terrain
StarWatch uses GL Transmission Format Binary file (.glb) as level maps.
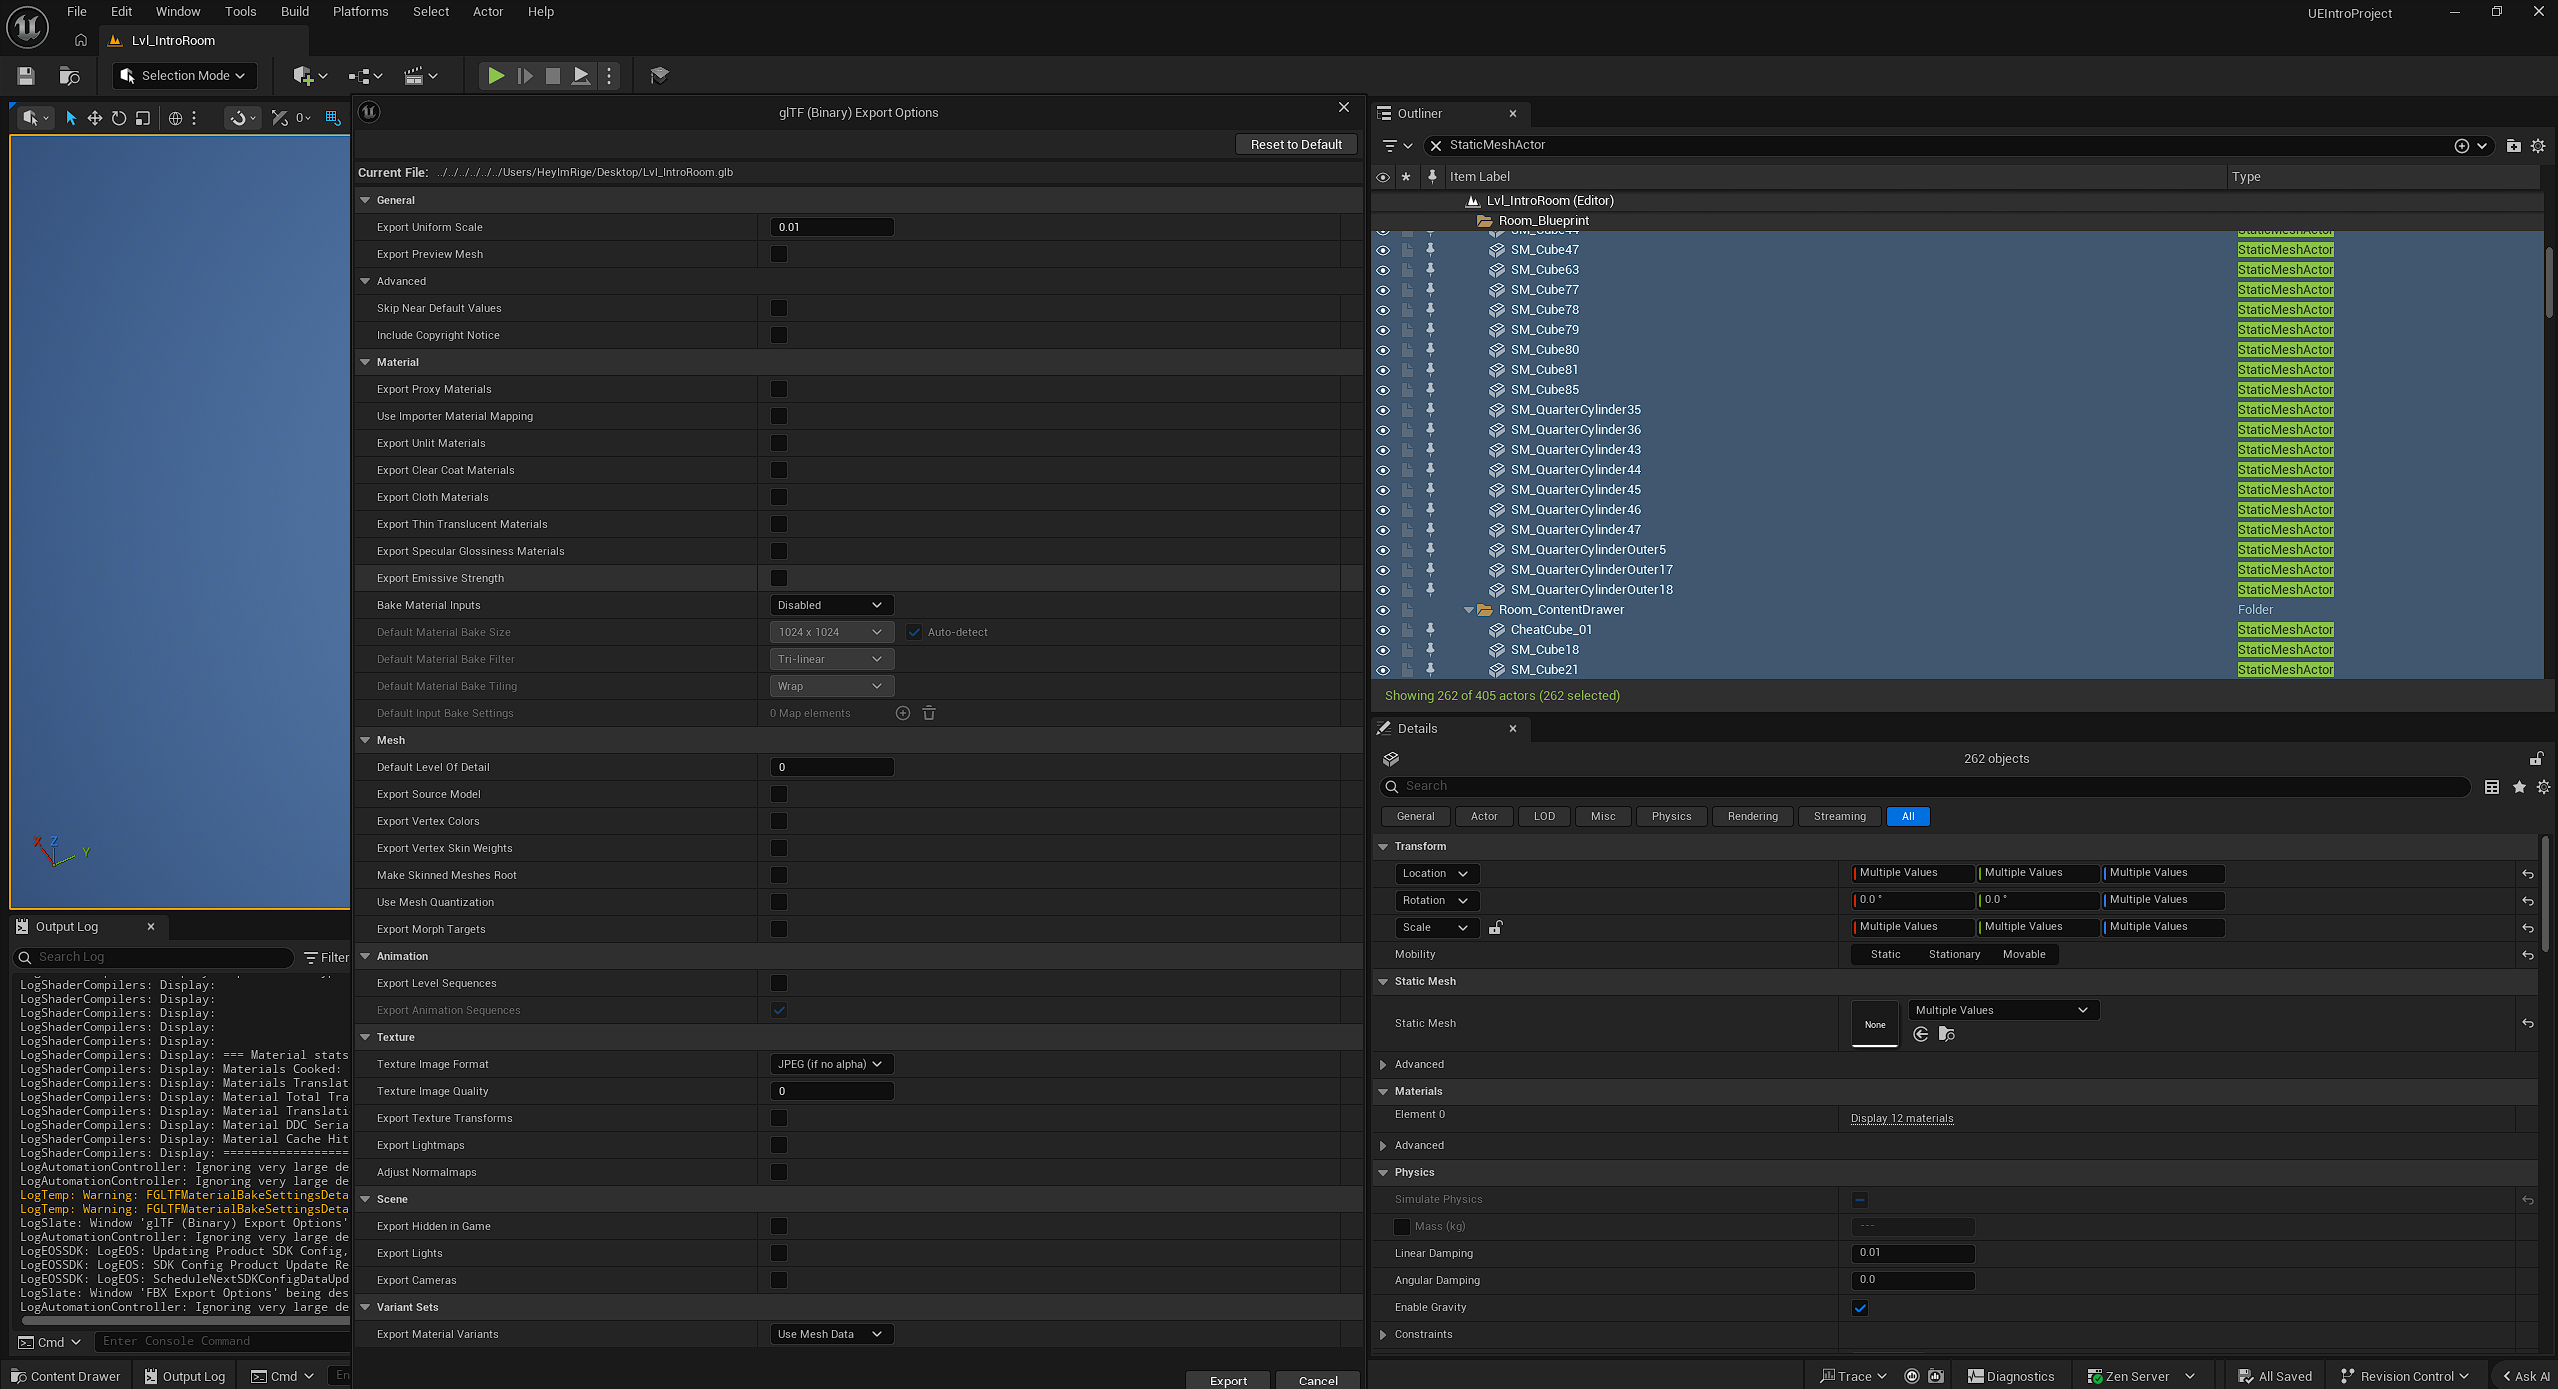
Export terrain
Select the content you want to export based on what you would consider terrain. You can use this search to help:
NOT Light NOT Fog NOT Camera NOT PostProcess NOT Volume NOT Audio NOT SkyAtmosphere NOT Niagara NOT Trace NOT Ray NOT Probe NOT NavMesh
- Select File > Export Selected.
- In the save dialog, change the file type to
glb. - In the export dialog, disable everything (StarWatch does not utilize lighting information, etc.)
Consider optimizing your exports even more by following our the terrain optimization guide.
Upload to StarWatch
Once you have your terrain file:
- Click the , and go to the Game Legend.
- Open the Game Levels tab.
- Select the Upload Map button to assign a glb to that level, which will then appear in the map view.
In order for levels to appear on this page there must be recent data sent to StarWatch about that level, or it must have been previously configured.
