
User guide
Version 1.1 - March 2026
StarWatch is a suite of technologies that equips open world creators and operators with essential tools to build trust and confidence and deliver safe and positive experiences for online communities by surfacing insights through data visualizations. It shows you real-time and recent past game statistics.
First time setup: Customize your StarWatch experience
Game legend
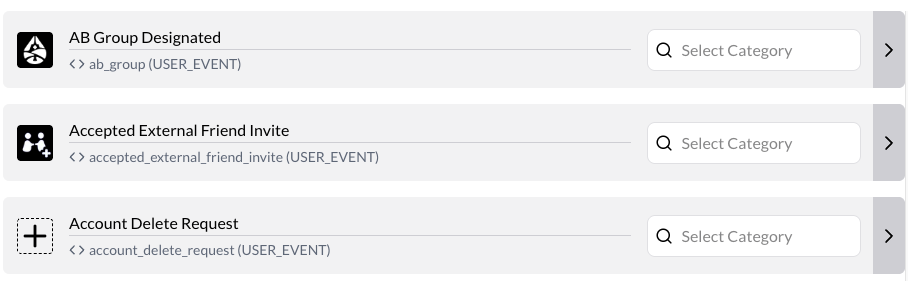
The game legend is accessed from the main menu. From here, you can:
- Upload/replace any event’s icon by clicking the icon and uploading/selecting a new one.
- Override the default event name with one of your choosing.
- Assign a Category for future bucketing/organization.
Next to each event type on the right-hand side is an arrow. Select it to see a preview of how your event will appear in StarWatch.
Level collections
Level collections are any grouping of levels you create. Think of these like folders, but for your game world’s structure.
To create a level collection:
- From the menu, select Game Legend.
- Select Level Collections from the tabs on the right-hand side of the screen.
- Select the + next to Create New Collection.

- Name the collection.
- Add levels by using the + icon.
- Use the X/Y/Z position properties to visually place each level near one another, however it makes sense for your game world’s geography.
- Remove a level by selecting – next to a level.
- Select Save Changes.
If a level has a 3D mesh, you should see it in the preview panel.
Once your levels have been added, you can move them around the 3D Map view. Move them around through the X/Y/Z coordinate fields.
Manager portal
The Portal houses StarWatch’s admin settings and team management options, as well as game setup. Access the portal by selecting the icon on the top right of the screen.
Games
This section manages your game environment. The overview page shows the current number of players, the status, date created, and server size.
Select Manage to view details on your game, including its API keys. From here you can also change the game’s cover image in the Portal as well as its name and description.
Changing the game’s subdomain can cause your links to break.
Select Visit to go to your game’s 3D map in StarWatch.
Team Members
Invite new team members here and change their permissions.
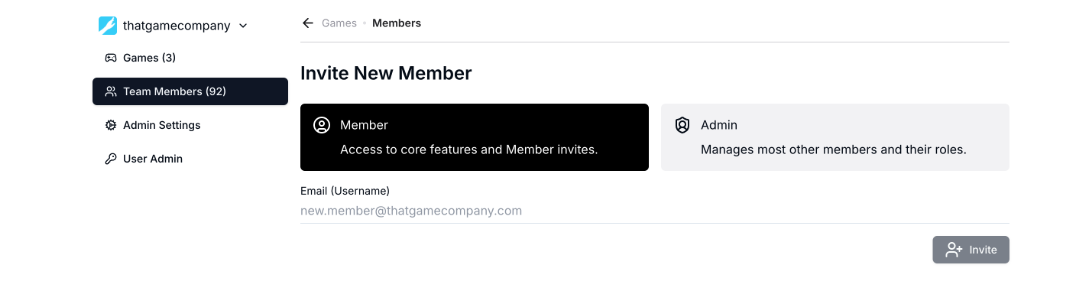
To invite a new user to StarWatch:
- Select your desired game on the left, then select Team Members.
- Under Invite New Member, choose your new member’s access level.
- Enter their email address.
- Select Invite.
Under Current Members, you can manage permission levels and add or remove Chat permissions.
Admin settings
Here you can change the team logo and see the account age and history.
Explore the game world
World map
The World map is the highest level overview of your game. The map gives a live breakdown of where the players are concentrated within the game.
The World map can be filtered by 5 categories:
- Account age
- Platform
- Country
- Cohort
- Custom configurable demographics
Check the box next to each category to enable or disable the information for each, along with further filters. Click on any of the categories to bring up a 3D level of that area. The color scheme is customizable so you can more easily distinguish regions from each other.
To return to the map at any point, click the menu icon on the top-left of the page and select Map, or select the StarWatch logo in the top left.
3D level view
Each area of the game map can be viewed individually as a 3D level. Each map has a live view of where players are, and the view changes based on the filters applied.
Attribute cards (filters)
Different maps have various filters that can be applied to change the data seen on the map in real-time. Filters include account age, platform, density, FPS, country, and room size. Selecting a filter activates a dropdown where each metric can be further filtered.
if you select a filter from the label part of the list-item, it “solos” that demographic and unselects all the other filters.
Note that not every metric is available on every map.
When using multiple filters, the metric color defaults to account age.
- Density: Acts as a heatmap. Shows where players are concentrated within an area. Cold colors indicate sparse density, while warmer colors indicate the presence of high player concentration.
- Screen Density: Color changes so that only what’s on the active screen is considered.
- Filter Diff: Color is determined by the difference in density between the currently visible users and those who have been filtered out.
- Account age: How long ago the player’s account was created.
- Platform: Which platform the player is using.
- FPS: Frames per second of the client device.
- Country: The country the player is in.
- Room size: How many players are in each room.
- Cohort: A segment of the population sliced on any number of factors, such as account age, churn status, or other user-defined segmentations including a list of user IDs. Allows for tracking behaviors across collections of users over time.
View modes (Stream, Events, Churn)
Time controls
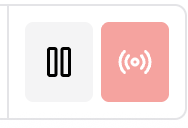
By default, when you view a 3D map you see it in Stream mode, indicating that you’re viewing realtime gameplay.
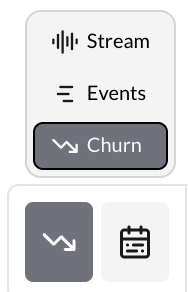
Time controls are available in any level of your game map. They appear as a scrubber at the bottom of the screen as a graph that indicates the number of players at the time. To change what the graph shows, select the left-hand icon. You can organize using three categories:
- Stream (default): Shows number of active players
- Events: Shows the number of events from the currently selected list
- Churn: Shows the number of inactive players from the timeframe selected
You can go back in time up to a month by dragging the marker to your desired date and time. To change the timeframe, select the calendar icon and choose the option that fits your needs.
To change the time zone select Settings. Under Your Settings, choose your desired timezone. This displays the timezone throughout your StarWatch experience.

Events mode
Events mode shows wherever events occur on a 3D map. Any action a player takes is classified as an event, which changes from game to game. When you select a specific date, 24 hours of content (and up to 5000 entries) are shown. This can be increased by hitting the up or down key on the day to change the increments.
Churn mode
Churn mode indicates players that have left the game over a given timeframe. Someone is considered churned over a period if they played on the first day of the time period but not since.
Select Churn at the bottom of the screen after clicking the left-hand icon. This shows how many users have not logged in for one day, week, or month, respectively. Players who have not logged in for a month will also appear on the daily and weekly churn reports. This differs from the industry standard which says someone has churned if they aren’t playing X days after the first install, regardless of whether they played during the time period.
Churn reports display insights for users of the level you’re on.
The black icon indicates the day of their last play session. The red indicates they did not play on those days. The light red squares are not selectable because they cannot be calculated yet.
Because churn reports show when people stopped playing their game, this can be used to identify how long players engage with their game or how long it takes for new content to grow stale.
Player journeys
A player’s information can be accessed either by selecting their avatar from the 3D map, or entering their User ID in the search field.
Select a player icon to see their Player trail, which visually tracks where they have traveled throughout the level.
Historical sessions
Historical sessions are a view of the player’s recent history. You can look back up to a month in an individual player’s history.
Sessions are sorted into a hierarchy of Player > Sessions > Level(s) > Events.
This affects the information as follows:
- The player is the primary (broadest) source of information, followed by
- The sessions they partake in and the levels they play in.
- Events provide the most granular information about their activity.
Event logs
Each player has event logs in their history, grouped by individual sessions. Event logs detail what happened during a player’s session, including pings, chats, and game events.
Event parameters
Within the event logs, you can grab metadata in the form of json snippets. To access, select a User ID in a 3D map. When the player’s profile card appears, select the icon next to an event to bring up the metadata. Any icon with a darkened frame has metadata available.
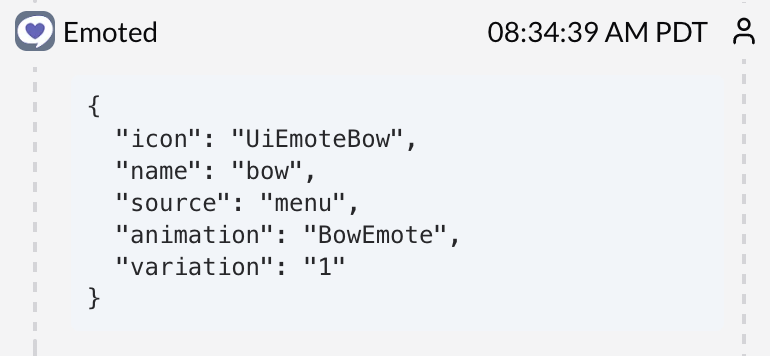
Client-derived events (events actively done by the player) are denoted by the person icon next to the timestamp. Server-derived events (such as disconnection) are denoted with a notification icon.